Tutorial by Jcuttlebear01 aka JoAnn
8/13/2009
I do these tutorials for fun and not
for any profit. I use them also as a learning tool to
help others learn the fun and art of paint shop pro.
All things I use are collected, the only thing I claim
Is the tag I make with these as my work.
Supplies I used
HEREGraphic of choice
Filters Unlimited
HEREFont of choice
PSP 9
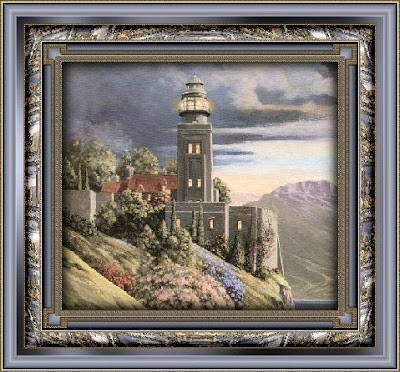
1. Open graphic of choice and duplicate twice.
Close the original.
Remember ~ save often in case you psp shuts down.
Minimize one of the graphics for now, we will use later.
2. Add a 3 pixel border color that isn't in the graphic your using.
3. Click on it and add gold bead pattern or one of choice.
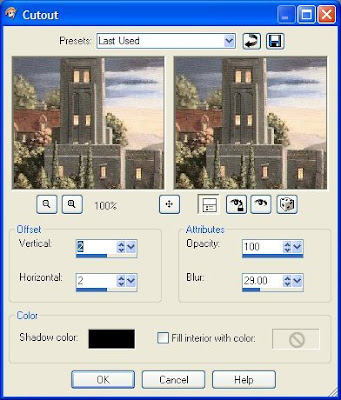
4. Selection invert, effects 3D cut out with these settings
5. repeat but this time change the Vertical, and Horizontal to -2
deselect.
6. Add another 3 pixel border using a dark color from your graphic.
7. Add another 3 pixel border another color and select and fill with the gold patter.
deselect.
8. Add a 20 pixel border using the dark color you used earlier, selection
contract by 3 add new layer and flood fill with the gold pattern.
9. Layer load saved mask, delete mask in your layer pallet,
and layers merge group.
deselect
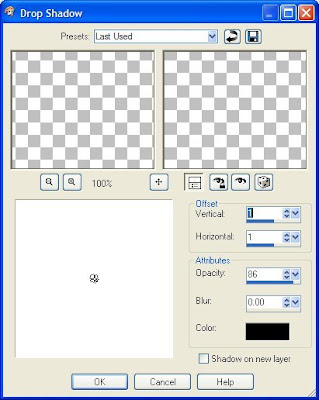
10. Add a drop shadow.
11. repeat but this time change the Vertical and Horizontal to -1
12. Select your background layer and effects filters unlimited glass
frame 1 with default settings.
deselect.
 13. add a 1 pixel border, a color from your graphic.
14. add a 3 pixel border using the dark color.
Select and flood fill with the gold pattern.
deselect.
15. Add a 20 pixel border color don't matter, select it and find the
other graphic we saved earlier, and copy and paste it into the selection.
16. Keep selected and filters unlimited
Lens effects, fisheye tiler ad apply.
Add same frame you did earlier.
and deselect.
17. Add 3 pixel border and select and flood fill with the gold pattern.
deselect.
18. Add a 30 pixel border and select, effects filter unlimited with the glass
frame 1 again but change the settings to 20 and 80 deselect and
select the inside of the frame where it is flat
add graphic plus cross shadow to your liking.
deselect.
19. Add a 1 pixel border of the light color
20. Add 3 pixel border dark color, select and flood fill with the gold.
You can now add any accents you wish to add.
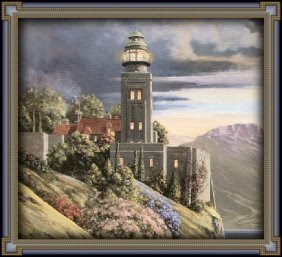
Add water mark and your ready to save your work of art.
Would love to see what you do with this.
Thank you for giving my tutorial a try.
I do hope you have enjoyed this tutorial, and learned
something new.
Have any questions or need help.
Just let me know, I'm always happy to help any way I can.
Jcuttlebear01@aol.com
(OTHER EXAMPLES BY ME)


 Now find the tubes you want to use and open them in psp,
 1. Flood fill your new image with the background color.


 7. Now un x both layers and move your tube where you want it.
 and draw a square


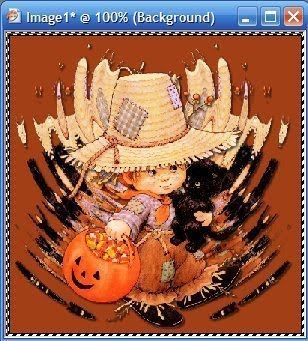

 More examples I made.


 Settings
 4. Repeat but this time change the V, and H to -1
 Ok and Deselect.
 repeat but change the V and H to -2


 5. repeat but this time change the Vertical, and Horizontal to -2
 11. repeat but this time change the Vertical and Horizontal to -1
 13. add a 1 pixel border, a color from your graphic.


