
Tutorial by Jcuttlebear01 aka JoAnn
7/2/2009
I do these tutorials for fun and not
for any profit. I use them also as a learning tool to
help others learn the fun and art of paint shop pro.
All things I use are collected, the only thing I claim
Is the tag I make with these as my work.
This I did just messing around and thought how fun.
Hope you enjoy this fun a crazy tutorial.
Supplies needed.
Tube of choice
Filters Unlimited plug in HERE
Open a new image 600 X 500
1. Find a tube you want to use and pick
a color for the background
and another for the foreground
Get your

2. Now draw lines any way you want. With one color.
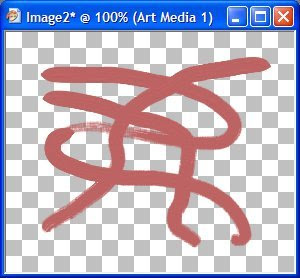
3. Add a new raster layer.
4. Now toggle your colors and do it again
5. With your oil brush tool.

click on that little arrow you see there and they will reverse.
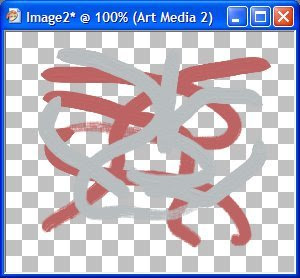 You can add a new color if you wish, just each time be
sure and add a new raster layer.
Be careful not to get to close to the edge.
This is what I have now.
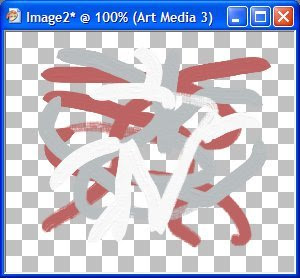
6. Merge your layers now.
7. I added a texture to this mess.
I used filters unlimited hemp paper 1
8. I re sized mine down to 80 percent before this next step.
9. Filters unlimited and Kaleidoscope,
just click on the randomize until you set some thing
you like........this is what I have now.....cool huh.
7. I added a texture to this mess.
I used filters unlimited hemp paper 1
8. I re sized mine down to 80 percent before this next step.
9. Filters unlimited and Kaleidoscope,
just click on the randomize until you set some thing
you like........this is what I have now.....cool huh.
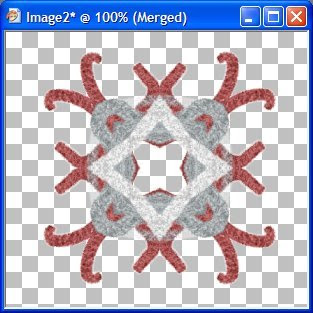
If your happy with what you have, you can now add a bevel
Or eye candy glass effect to it. That is all up to you.
I then took and click on the center there and expanded it 5 added a
new layer, then flood filled with one of my colors, then gave it
the same glass effect, then moved that layer down.
This is what I have now.......
Or eye candy glass effect to it. That is all up to you.
I then took and click on the center there and expanded it 5 added a
new layer, then flood filled with one of my colors, then gave it
the same glass effect, then moved that layer down.
This is what I have now.......
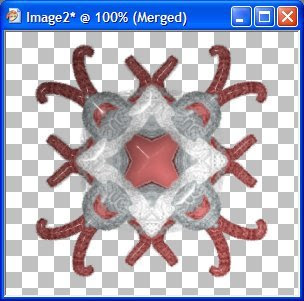
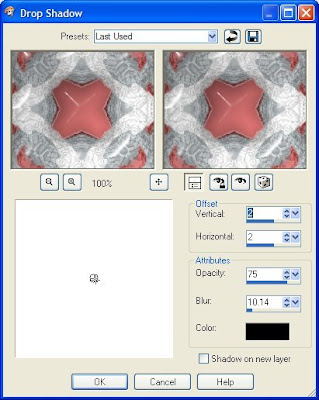
10. Merge all layers, then add a drop shadow.
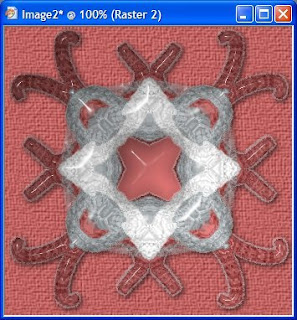
11. Add a new raster layer and flood fill with color of choice.
Layers arrange and send to bottom.
12. Add a texture of choice, I used the paper effect once again.
13. Then crop around your background to get rid of the extra
you don't want
there showing. Leave room for your tube.
Layers arrange and send to bottom.
12. Add a texture of choice, I used the paper effect once again.
13. Then crop around your background to get rid of the extra
you don't want
there showing. Leave room for your tube.
14. Copy and paste your tube as a new layer.
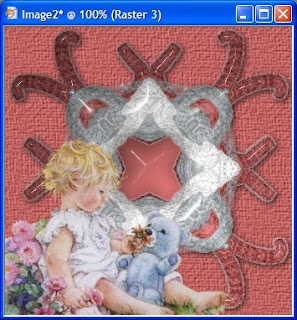
15. Add your drop shadow to the tube.
If your happy with it then merge all layers.
16. Add a 2 pixel border, what ever color you wish.
17. Add a 5 pixel border with your background color.
18. Add a 1 pixel border of your first color.
19. Magic wand and select the 5 pixel border and give
it a bevel of some kind.
I used the filters unlimited glass frame 1
20. Add a bottom border now, with these settings.
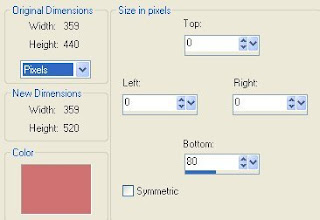
21. Click on the inside of this border and add the same bevel
effect you added to the 5 pixel border.
I did it twice and changed my settings on the second one.
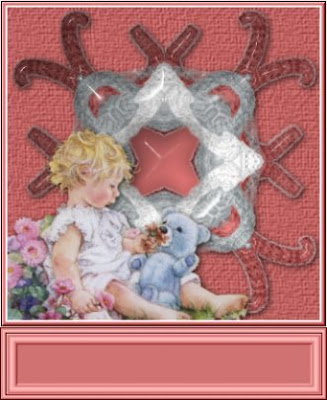
This is what I have now.
You can add your water mark, and anything else you wish to the tag.
You can now add your water mark.
And your ready to save and share your work of art.
When done save your work of art and have the fun
of sharing.
Would love to see what you do with this.
Thank you for giving my tutorial a try.
I do hope you have enjoyed this tutorial, and learned
something new.
Have any questions or need help.
Just let me know, I'm always happy to help any way I can.
Jcuttlebear01@aol.com
Hugs
Another Example by me
This one I added the tube to the
mess then merged and did the kaleidoscope effect.
The things you can do are endless.


No comments:
Post a Comment