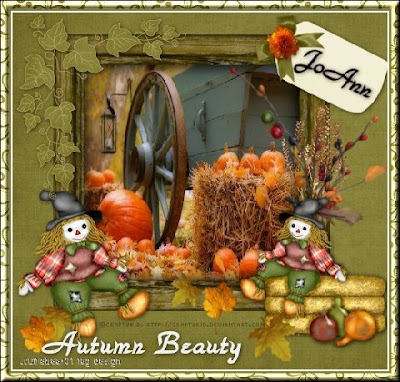
Tutorial by Jcuttlebear01 aka JoAnn
10/6/2009
I do these tutorials for fun and not
for any profit. I use them also as a learning tool to
help others learn the fun and art of paint shop pro.
All things I use are collected, the only thing I claim
Is the tag I make with these as my work.
Feel free to share my tutorials, but link them back
to my site please.
Supplies
Graphic of choice
Tubes of choice
Or the ones I used
HERE
Scrapbook kit is the awesome work of
Lynn Earwicker the kit I used is called Seasons change
and you can buy it here........
Lynn : The Scrappin Divaz Designz, Store
It's on sale right now.
PSP 9
1. Open a new image
600 X 500
Find a graphic you wish to use.
This is the one I used for this tutorial.
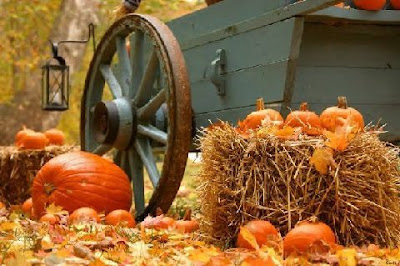 2. Selection and select all, copy and paste paper
Paper 13 from the scrapbook kit, in to your image.
Rename you layer to background.
deselect.
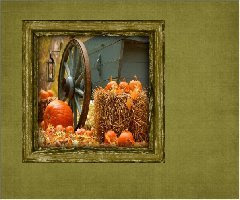
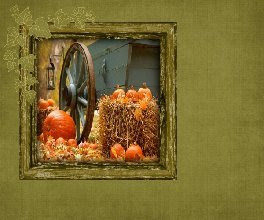
3. Now get the distressed wood frame,
and copy and paste it onto you image,
You will need to re size it.
I went down to 60 percent.
Rename this layer to Frame.
4. Get selection tool and click on the center of the frame,
Selection modify and expand by 10.
Add a new raster layer.
Rename this layer to graphic.
5.Copy and paste your graphic in to this layer.
In your layer pallet move the graphic below the frame layer.
Selection modify contract by 5, selection float.
Effects 3d
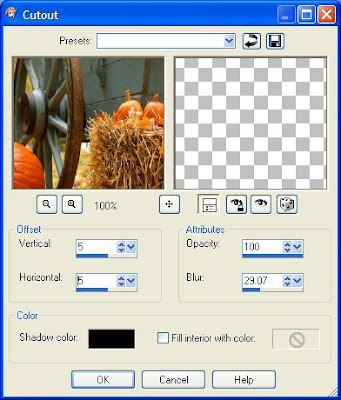 6. Repeat but this time use a minus 5
Deselect
Optional:
You can add xero porcelaid to the graphic if you wish.
It give the graphic a different look.
7. Close off the background and layers merge visible.
Now lets add some accents to this.
8. Take your frame and move it up to the left hand corner
Now lets add some accents to this.
8. Take your frame and move it up to the left hand corner
9. Find the ivy in the scrapbook kit and copy and paste to your work.
Re size it to 40 percent and move over to the corner like you want it.
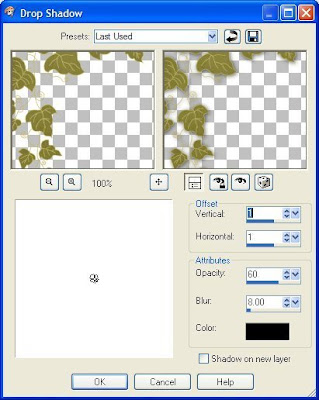
10. Effects 3 D and drop shadow
11. Add the fall flowers bundle 1
Re size by 50 percent.
Add to the right hand side of your frame.
Arrange it the way you would like to.
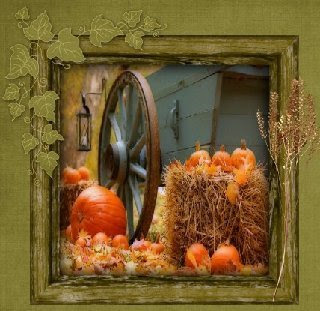
12. Find the dried bundle and re sized it to about 40 percent.
Take your deform tool and turn it how you want it to look.
13. Now find a Scarecrow or use the one I have put in the files.
Copy and paste it onto your image re size as needed.
I re sized the one I used by 40 percent.
Arrange him where you want him to be.
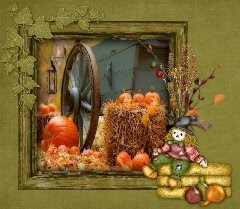
14. Add same drop shadow to him.
15. I added another scarecrow to the other side,
and re sized him 40 percent also and drop shadow.
If you use these little guys I have included in the kit
be sure and add the copy write to you work.
16. Add the tag from the kit to your work and re size it
I went down 30 percent, then move it to the upper right
hand corner there, you might have to move the dried
flowers around so it will fit like you want it.
I took the deform tool and turned it tell I was happy with it.
And even re sized it a bit more with it.
Add a drop shadow to it now.
17. Now you can add some extra leaves to your work
I re sized them down to 10 percent and placed different ones
where I wanted them and used the deform tool to make them how
I wanted them, and a slight drop shadow to them if you wish.
18. Add some words to it if you wish it is all up to you.
Add your water mark to your work.
Merge all layers
When your happy with the way it looks,
layers merge all.
Crop your tag at this time.
19. Now add a 2 pixel border color of choice
20. Add a 3 pixel border another color
21. Add a 10 pixel border color of choice.
22. Activate the 10 pixel border and find a paper you want to use
to accent, and make like a frame.
I added paper 10 from the kit and copied and pasted it into my selection.
23. Then gave it an inner bevel.
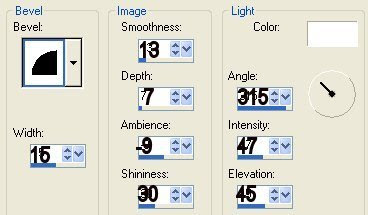 If happy with it deselect and your all done.
Ready to save your work of art.
Would love to see what you do with this.
Thank you for giving my tutorial a try.
I do hope you have enjoyed this tutorial, and learned
something new.
Have any questions or need help.
Just let me know, I'm always happy to help any way I can.
Jcuttlebear01@aol.com
Couple more I did with the wonderful kit.
This one here I used a mask on it.
called babes design mask 13
ggmom9 Aka Mary


No comments:
Post a Comment