
Tutorial by
Jcuttlebear01 aka
JoAnnI do these tutorials for fun and not
for any profit. I use them also as a learning tool to
help others learn the fun and art of paint shop pro.
We are going to make a tag today using a ding font.
I know some of you will say what is a ding font.
It's a font that you can use to make many different things with,
it comes in all shapes and sizes. I love to play around with them.
Supplies
HERETube of choice
Super blade pro
HEREFind your tube you wish to use, and minimize it for now.
Find the font
Whirlygigs which I have supplied in my supplies.
You don't have to install this just open it up and minimize it, it will show
up in your
psp.
1.Open a new image 500 x 500
2. Pick a color from your tube that you want to use
for this ding font I used a color from my tube for it.
3. Click on your font tool and find your
whirlygigs font which will be probable toward
the bottom some where of your font list.
Now there are many different shapes you can use, play around and see what you like.
I used the letter j for this one.
I used these settings Size is 300

Take and stretch it out larger, so you have more room to work, with it.
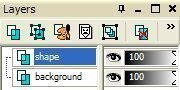
Then layers and convert to raster layers
I change the name of each layer so its easier for me to keep track
at where I'm at.
4. Get magic wand and click on the inside of some of the empty spaces.
I did the large ones first.......to use magic wand in more then one at a time, space
I change my setting to add shift, I use that almost all the time.
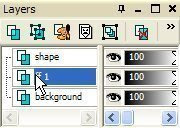
5. Selection modify and expand by 5 or so it goes past the spot your going to flood fill.
Add a new layer, then flood with a different color, layer then arrange move down.
You can add a plug in effect.......which I used Super blade pro
on this first one.........you decide.
When happy with what you have then deselect.
Make sure you go back to the shape layer before this step.
6. Select another set that you want to do some effects on.
I picked the other parts or the peddles that I did do the first time.
Then selection modify and expand by 5, layer new raster, arrange
move down.
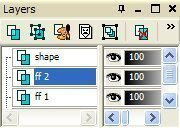
Then flood fill with another color of choice.
I used Filters unlimited and added special effects 1.
Then added an inner bevel
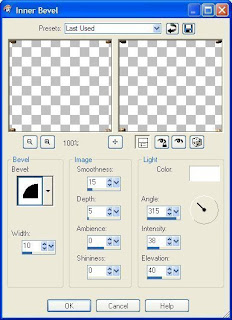
If happy with what you see deselect.
7. Go back to your shape layer, and click on the center, and
selection and modify expand by 5 layer new, flood fill with another color,
use another effect on it. I used eye candy glass on this layer.
8. On the main shape you can click on it and add an effect to it also, if you like.
I added a blind effect
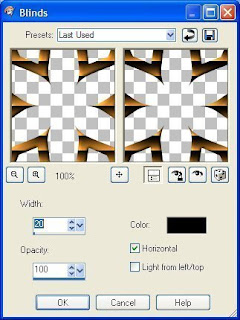
Then the same bevel except reduced the width by 5.
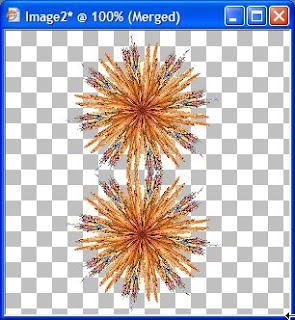
If your happy with everything you have now, you can
merge all layers.
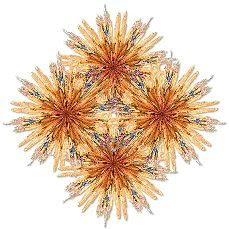
This is what I have so far.

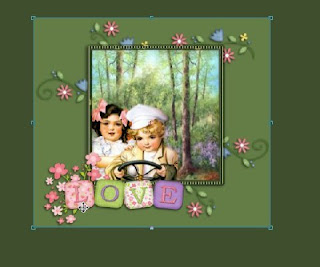
9. Find the tube you wish to use, and copy and paste to
your little background shape you just make.
Re size it if needed to make it fit right, move to where you want it.
Add any other accents, or saying you wish.
Then add your water mark and merge all layers.
Re size it to your liking, also sharpen image if needed.
Your now ready to save and share your new work of art.
Would love to see what you do with this.
Thank you for giving my tutorial a try.
I do hope you have enjoyed this tutorial, and learned
something new.
Have any questions or need help.
Just let me know, I'm always happy to help any way I can.
Jcuttlebear01@aol.comHugs

Another example I did using letter M

Sample by
Fairladi101 aka
Pati
Sample by :
GGMOM9 or Mary
I first used the letter A then added J and twirled it


 you can use what you would like for the tube you use.


 11. Now I added another doodle, to the tag, I decided I didn't want as many
 13. Take your
 click on your


 Tutorial by Jcuttlebear01 aka JoAnn
 3. Go to effects and apply the VM instant art to this layer
 4. These are the settings I used, you might have to make adjustments on the and one


 6/19/2009
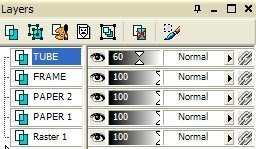


 4. Get magic wand and click on the inside of some of the empty spaces.


