Tutorial by
Jcuttlebear01 aka JoAnn
5/27/2009
Things you need.
Tube of your choice
Can use simple sparkle if you wish.
PSP 9 was what I used, but can be
PSP 9 was what I used, but can be
done in other versions.
OK lets get started
1. open psp and new image 500 x 500 I like to work
large, can re size later.
2. Copy and paste tube as a new layer.
Re size if you need to.
3. Duplicate layer, go to layer pallet
Close off the top layer and make sure you are on
layer 2
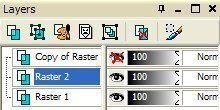
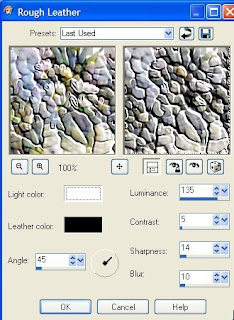
4. Go to effects and rough leather. I used these
settings you can play around with it tell you get
something you like.
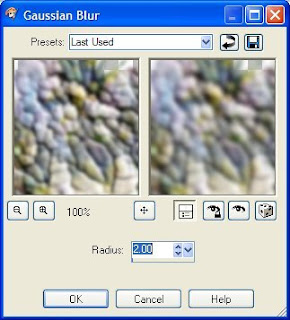
5. Adjust Gaussian Blur apply these settings.
6. Effects 3D add a drop shadow to your liking.
7. Click on the top layer and make it active now, and open it up.
Re size your tube to about 85 percent, depending on the size of tube your using.
Then move the tube to where you like it......
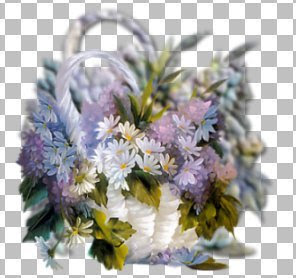
8. Add accents to your tube to dress it up if you like.
Be sure and add your watermark.
Then when your happy with everything merge all layers
10. Add another layer and flood fill with a color from your tube.
Layer arrange and send to bottom.
11. Effects blinds set to your liking.
12. Add a border of 2 pixel a color from your tube.
13. Add another border of 2 pixel of a different color.
14. Add another border of 10 your first color.
15 Click on the borders with your magic wand and add a bevel of your choice.
16. Now you can add a name or anything else.
When you have finished then save your image, and share.
 Hope my little tutorial here helps you learn something new.
Need help just give me a shout at
Jcuttlebear01@aol.com
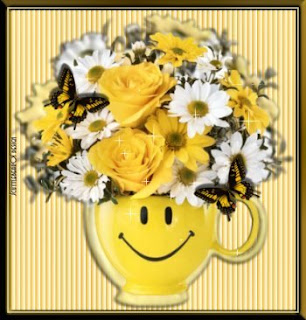
Another example I did.


No comments:
Post a Comment